
It’s hard to know how to tile a shower properly, nevertheless how to make it a simple DIY project. No need to go through all the trial and error to tile a nice shower, however. We’ve done all the dirty work. So, after you’ve selected the perfect tile for your shower floor and/or shower walls and it’s time to begin laying tile, follow these 8 tips for an easier way to complete your tiling project.
1. Check the Stud Walls
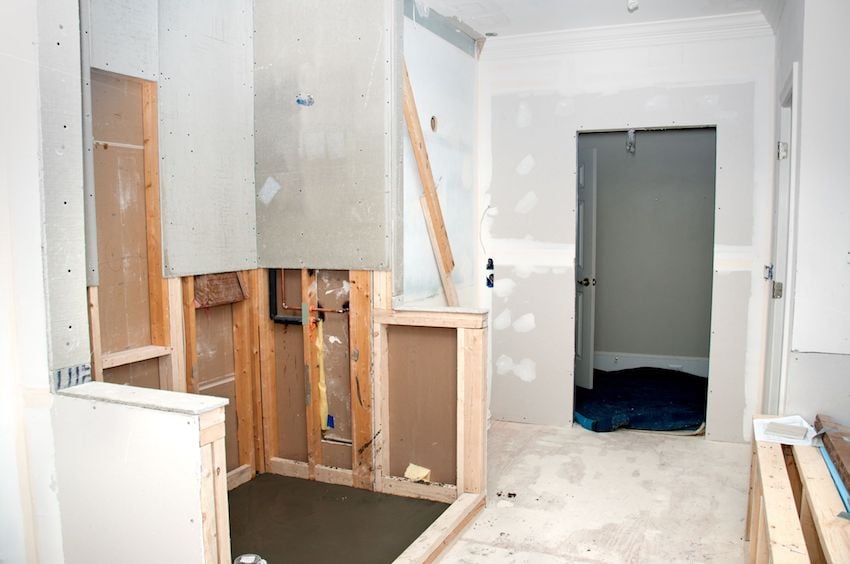
Before laying any tile or even prepping the backer board, you’ll need to check your shower stud walls to make sure they are plumb and level. To do this, place a 4 foot level across all studs. Repeat this action vertically, horizontally, and diagonally.
Studs need to be plumb and level so that walls are waterproof and tiles don’t end up looking irregular, especially in corners. According to Home Repair Tutor, the easiest way to fix studs is to sister a second stud to the one that’s crooked. Use 3 inch deck screws or nails to attach the new stud to the old one and check that it’s now plumb and level.
2. Prep the Backer Board
Preparation is an important part of laying tiling for a shower floor or shower walls. Of course, you’ll first want to remove the old tile. Then, place a cement backer board as a foundation to install your shower tiles. During this step, check to ensure the cement backer board is sound and sturdy.
If the cement backer board is not soundly in place, you’ll need to add the additional step of removing the old backer board before installing a new cement backer board altogether.
3. Plan the Layout For the Tile
Preparing a layout for your tile will prevent slivers of tile at the ceiling or corners and will provide you with a distinct guideline to follow. All you need for this step is a pen, paper, and measuring tape.
While in the layout prepping stage, plan to begin on the second row up from the bottom of the shower when tiling. Often, the floor of the shower or the top of the tub won’t be completely square and starting here can lead to a crooked tile installing.
4. Apply Tape and Mask Edges
Now that your walls are well-prepped, you’ll want to first apply mesh tape. Run pieces of this tape over the seams of the cement board. Then, use painters tape to tape off the edges. You can spread a drop cloth over the shower pan during this step to make the masking easier.

5. Keep Your Shower Pan in Place
Tiling a shower by yourself can be especially hard. If you’re able to keep the shower pan in place, it will remain an overall straight-forward project for the most part. You can build up a shower pan by scratch using tile and mortar. Or, you could even use a ready-made fibreglass pan. These options may add a few kinks to the project because of the inherent nature of pans to leak, The Spruce says.
6. Find the Centre and Measure Properly
An important step in tiling a shower is measuring to make sure you have enough tiles to finish the project and cover your entire shower. Note that you should always have 10% more material on hand than you need to finish the project. This will cover your back (and walls) if any mistakes are made while tiling the shower.
Once you’ve properly measured and are good to go, locate and mark the centre of the wall you’re tiling with a pencil. Then, draw a plumb line as a reference mark as well as a level line, DIY Network recommends. To draw a level line, measure up 13 inches. This is the height of one row of tiles in addition to the grout line. These two marked lines will be your initial guide while tiling a shower.
7. Use Nice, Expensive Thin-Set Mortar
When tiling, apply premium thin-set mortar to the bottom row area. While shopping for the mortar, look for the more costly and premixed mortar in buckets. Opt for this over the less expensive mortar, which is powdered and more difficult to use.
For example, keep an eye out for ARDEX X77 superior sagless thin-set mortar, as suggested by Home Repair Tutor. If used properly, this mortar won’t slide down the wall, and it’s a great option for ceilings being tiled as well.
8. Keep Grout Joints Small
Home Repair Tutor suggests using small grout joints between 1/8 inch and 1/16 inch because they’ll keep cleaning maintenance low for your tile shower. Also, grout joints are likely to expand, so using smaller grout joints can be helpful and also look better than larger ones in general.
Are you remodelling a bathroom? After your done tiling your shower, head to a Kitchen and Bath Classics showroom for everything else you need including faucets, toilets, showerheads, lighting, and more.